6 Amigurumi Techniques That Make a Clean, Professional Finish
Magic ring, invisible decrease, back-loop ridges, clean colour changes, a 3-dc cluster thumb and the invisible finish — step by step, with photos.
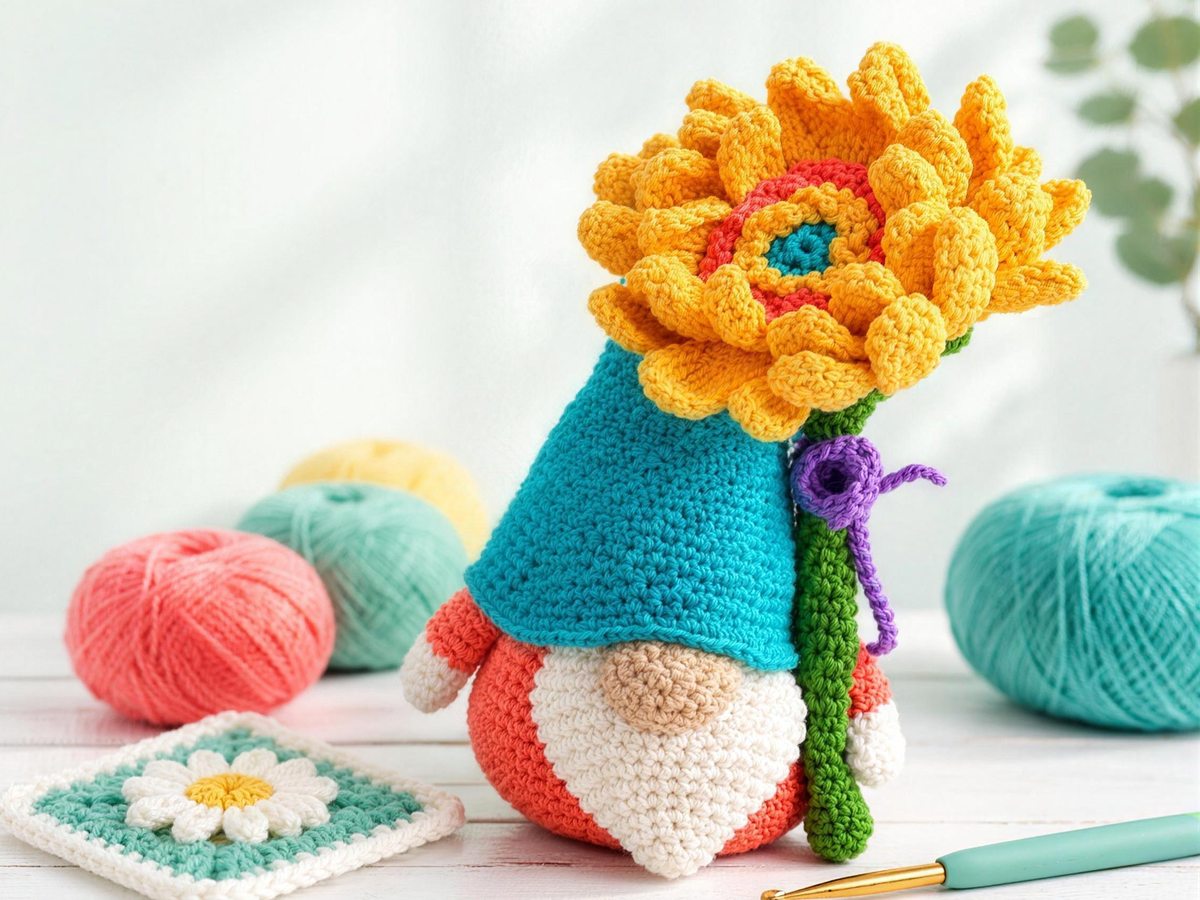
Most amigurumi look neat or lumpy because of a handful of small habits, not because of the pattern. These six techniques all come from the Golden Bloom Gnome pattern, and each one fixes a specific problem: a hole at the centre, a bump at every decrease, a crooked face, a visible step at the end of a round. We use US terms throughout: single crochet (sc) = UK double crochet.
What you need
- Sport / fine cotton or cotton–acrylic yarn (CYC 2) and a 2.25 mm (US B/1) hook — or any yarn with a hook one size smaller than the label suggests, so the fabric is tight
- A stitch marker, a tapestry needle and scissors
- Polyester fiberfill
1. Magic ring: a centre with no hole
- Wrap the yarn twice around two fingers.
- Insert the hook under both strands, yarn over and draw a loop through.
- Chain 1 (it does not count as a stitch).
- Work the first round's stitches into the ring — for example 6 sc.
- Pull the tail: the ring closes completely.
A chain ring always leaves a small hole that stuffing can push through; the magic ring does not. Every piece of the gnome except the bow starts this way.
2. Invisible decrease: no bumps on smooth shapes
- Insert the hook under the front loop only of the next stitch, then under the front loop only of the stitch after it (3 loops on the hook).
- Yarn over and pull through both front loops (2 loops on the hook).
- Yarn over and pull through both loops, as for a normal sc.
A standard sc2tog leaves a little bump at every decrease; on a smooth body those bumps line up into a visible seam. The invisible decrease lies flat.
One exception: in a round worked in back loops only (see below), work the decrease under the back loops of the two stitches instead, so every front loop of the round below stays free.
3. Back loop only — and the ridge it leaves on purpose
Look at the top of any stitch and you see a "V". The strand nearer you is the front loop; the one behind is the back loop. When a round says BLO, insert the hook under the back loop only for every stitch.
The front loops you skipped stay on the outside as a tidy ridge — a line of free loops you can sew to or crochet into later. The gnome uses this three times:
- at the bottom of the body, where a BLO round turns the flat base into a wall;
- around the body, where the ridge becomes a straight anchor line for the beard and both arms, so the face always ends up level;
- on the flower, where five BLO rounds leave five rings of free loops that hold the loops and petals.

4. Changing colour without a jog or a loose tail
- Work the last stitch of the old colour up to its final yarn-over.
- Yarn over with the new colour and pull it through to finish the stitch.
- Before you stuff, thread each tail onto the needle and weave it through several stitches on the wrong side.
Stuffing alone does not hold a tail in place — a tail that is only tied will work loose and show.
5. A 3-dc cluster for a tiny thumb
In one stitch: yarn over, insert the hook, pull up a loop, yarn over and pull through two loops — three times, all in the same stitch, keeping the last loop of each on the hook (4 loops on the hook). Yarn over and pull through all four loops.
Worked in the middle of a round of sc, the cluster bulges out on the right side of the work and reads as a thumb on a small hand — no extra piece to sew.

6. Invisible finish: an edge with no step
Continuous rounds end with a visible step. The invisible finish hides it:
- Cut the yarn and pull it through the last loop.
- Thread the tail on the needle, skip the next stitch, and pass the needle under both loops of the stitch after it.
- Go back down into the centre of the stitch you came from.
- Tighten gently until it looks like one more stitch, then secure the tail on the inside.
Use it on any edge that stays visible, like the brim of a hat.

Bonus: closing a flat piece
Arms and beards often end as tubes that are squashed flat and closed with a row of sc through both layers. Line the stitches up in pairs first — 20 stitches become 10 pairs, 8 become 4 — then work one sc through each pair. If the fold leaves a corner stitch without a partner, take it in with its neighbour; that is why some patterns give these counts as 9–10 or 3–4.
Troubleshooting
- Stuffing shows between stitches: go down a hook size, or crochet more tightly.
- The face looks crooked: sew features to a BLO ridge instead of counting rounds by eye.
- Bumps at every decrease: switch to the invisible decrease, front loops only.
- A step at the end of an edge: finish with the invisible finish instead of a slip stitch.
- Your stitch count drifts: move the marker up at the start of every round and count at the end of each increase round.
Final thoughts
Practise each technique on a small ball first: 6 sc in a magic ring, increase to 18, a few plain rounds, then decrease with invisible decreases. When they feel natural, put them all together in the Golden Bloom Gnome.
Frequently asked questions
Why use a magic ring instead of a chain ring?
A magic ring closes completely when you pull the tail, so there is no hole at the centre for stuffing to show through.
What is the difference between BLO and FLO?
BLO means working into the back loop only of each stitch; FLO means the front loop only. The loop you skip stays on the surface as a ridge.
Is single crochet the same in US and UK terms?
No. US single crochet (sc) is called double crochet (dc) in UK terms. This article uses US terms.
Keep reading
More in Stitch Tutorials →-
Invisible Decrease, Color Changes and Clean Stuffing: Amigurumi Techniques That Fix the Ugly Bits
The four techniques that separate lumpy amigurumi from professional-looking ones: the invisible decrease, the jogless color change, stuffing that holds shape, and the invisible finish.
-
How to Crochet a Magic Ring (Magic Circle) That Never Comes Undone
A step-by-step magic ring tutorial with photos-in-words, the common failure points, an alternative for slippery yarn, and how to secure the tail so the center never opens.
-
Free Crochet Bear Pattern: A Classic Amigurumi Teddy in One Evening
A free, beginner-friendly amigurumi bear pattern with full stitch counts for head, body, ears, muzzle, arms and legs, plus assembly notes and size variations.