Golden Bloom Gnome
A coral amigurumi gnome with a teal hat and an oversized golden flower: the body and hat rounds free, plus the full NestoraMade pattern for the rest.
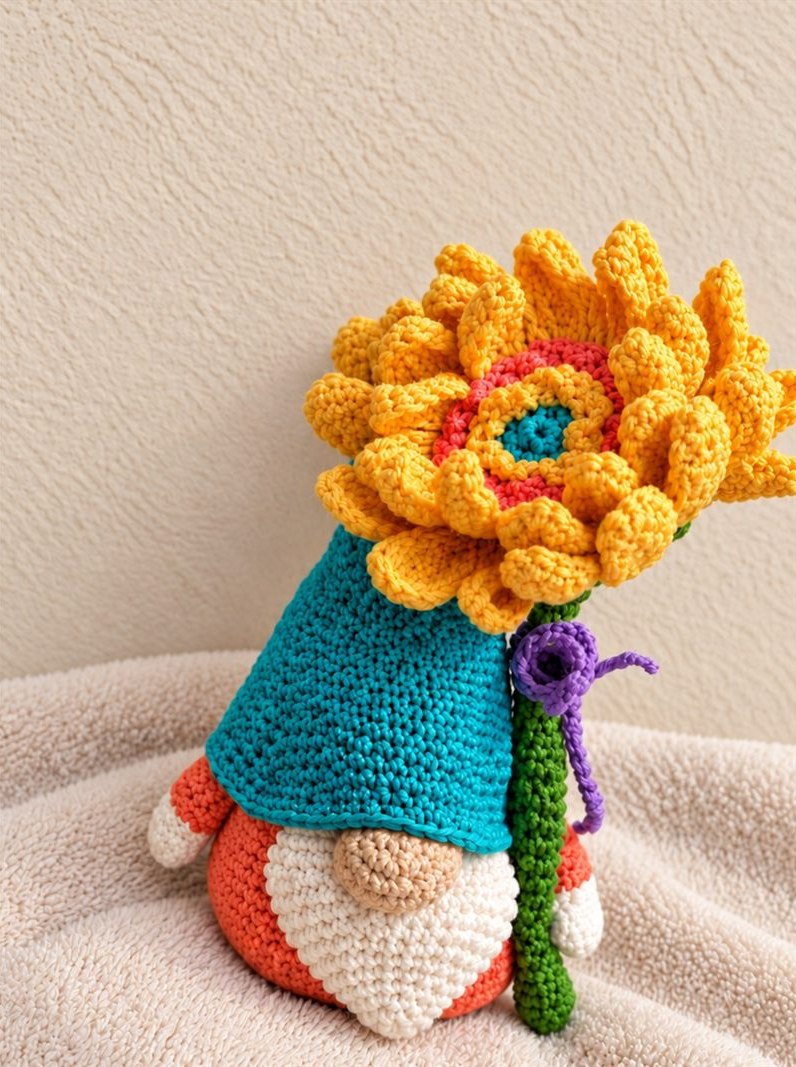
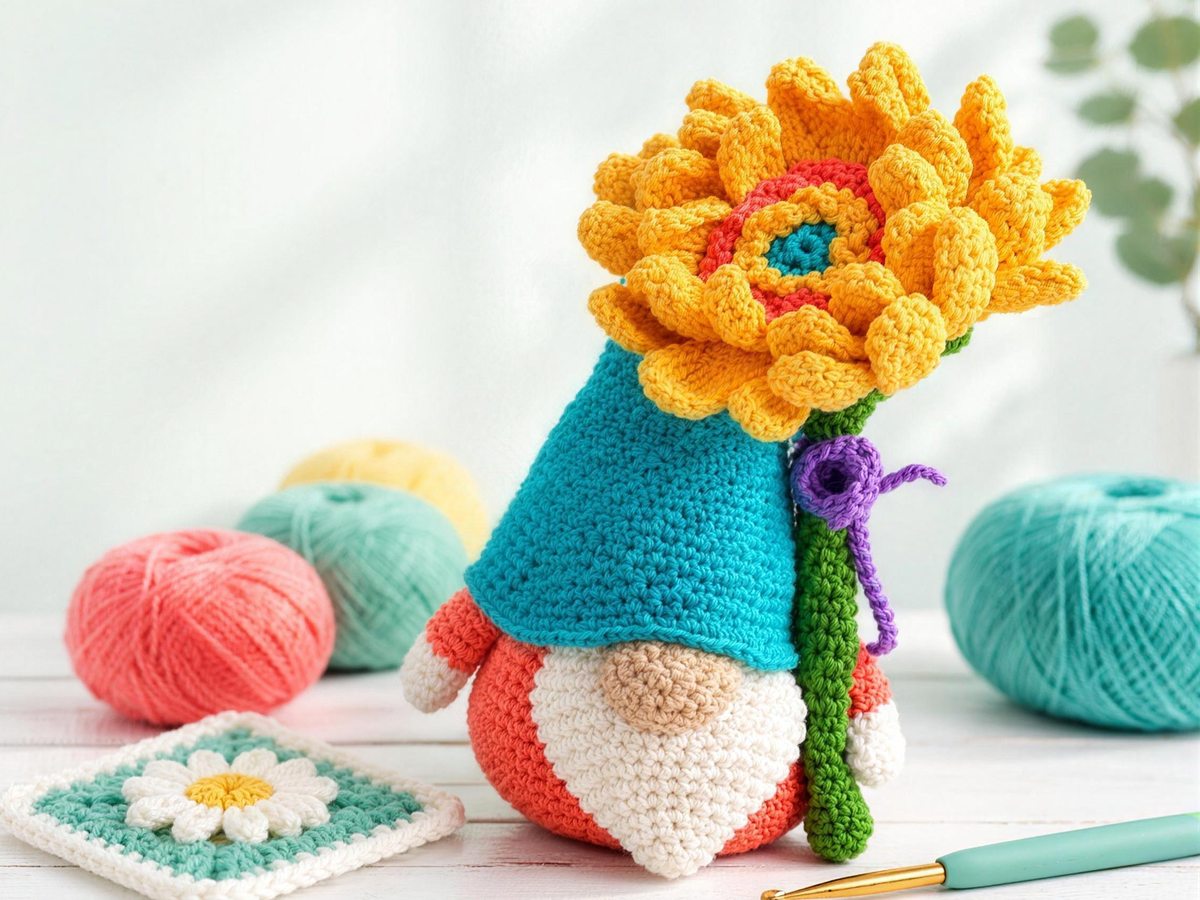
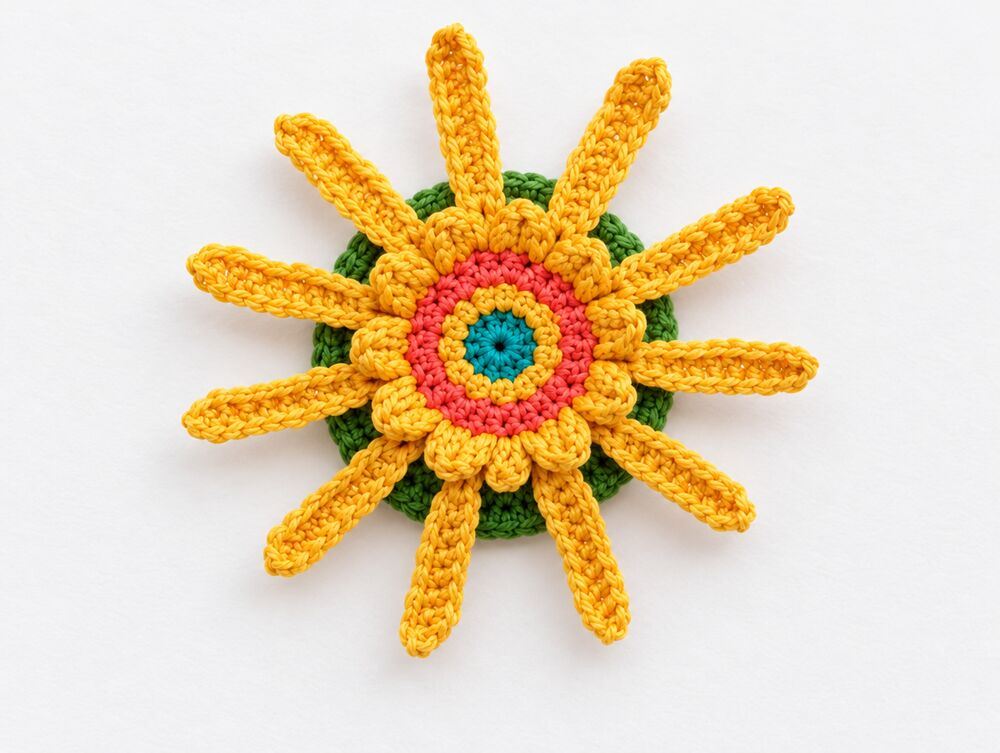
He is small, round and very pleased with himself: a coral body that sits flat on a hidden cardboard base, a long cream beard, a sand-coloured nose, and a teal hat pulled down to where his eyes would be. Beside him stands a flower almost as big as he is — a teal centre, a ring of coral loops, two rounds of plump golden petals, and a long green stem with a violet bow.

What is in this post: the body and the hat, round by round with every stitch count — enough to make the gnome's base and hat today. The arms, nose, beard, the golden flower and the full assembly are in the complete 12-page NestoraMade pattern, with a photo for every stage.
What makes him easy
The body, hat, arms, nose, beard and flower dome are worked almost entirely in single crochet in continuous rounds (the arm's thumb is a small cluster), so if you can make a magic ring, increase and decrease, you can make him. The flower's decoration adds chains, slip stitches and half double crochet, and the bow is a single row. It looks complicated, but it is really five simple rounds of loops and petals, each worked into a ridge of free loops left behind on purpose.
- Skill level: confident beginner — sc, hdc, inc, dec, slip stitches, chains and one small cluster.
- Time: a relaxed weekend.

Golden Bloom Gnome
A coral amigurumi gnome with a teal hat and an oversized golden flower: the body and hat rounds free, plus the full NestoraMade pattern for the rest.
Materials & tools
Tick the materials as you gather them
Yarn
Tools & notions
Abbreviations (US terms)
- MR
- magic ring
- ch
- chain
- st / sts
- stitch(es)
- sc
- single crochet
- hdc
- half double crochet
- dc
- double crochet
- sl st
- slip stitch
- inc
- 2 sc in the next stitch
- dec
- sc 2 stitches together (invisible decrease)
- 3dcCL
- 3-dc cluster
- BLO
- back loop only
- FLO
- front loop only
Before you start
- Continuous spiral. The main pieces are worked in a continuous spiral: no joining, no turning chains. Move your marker up each round. The flower's loop and petal rounds and the bow are the exceptions, and are written out in full.
- Stitch counts. The number at the end of each row is the stitch count after that round.
(inc, 2 sc) × 7means repeat the bracket seven times. - Colour changes are written into the round where they happen.
- Tension. A different yarn or hook can change the size, the shape and how the pieces fit together, so test-fit the parts against each other before sewing. Go down a hook size if your stitches are loose — stuffing should never show through.
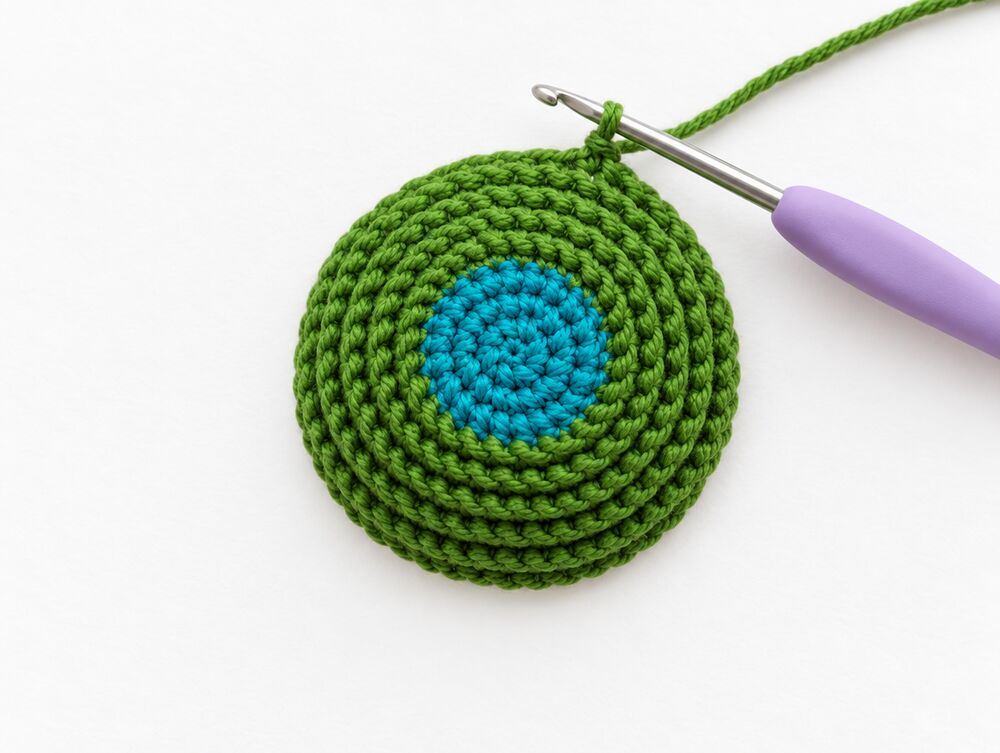
- Free loops. When the pattern says "the free loops left by Rnd 4", it means the front loops of the round below, exposed because Rnd 4 was worked in back loops only. In the flower those ridges are numbered Ring 1 to Ring 5, so there is never any doubt which one you are in.
- Colours. Shade numbers differ between brands and dye lots, so match the colours to the photos rather than to a code. Coral is the one to get right — it sets the mood of the whole piece.
Special stitches & techniques
Magic ring — Wrap the yarn twice around two fingers, draw a loop through, ch 1, then work the first round's stitches into the ring. Pull the tail to close it tight. Every piece except the bow starts this way.
Invisible decrease — Insert the hook under the front loop only of the next two stitches, yarn over and pull through both, yarn over and finish as a sc. It leaves far less of a bump than a standard sc2tog, which matters on the smooth coral body. Exception: in a round marked BLO (Body Rnd 24, Flower Rnd 7), work the decrease under the back loops of the two stitches instead, so that every front loop of the round below stays free for the ridge.
Changing colour — Work the last stitch of the old colour up to its final yarn-over, then pull the new colour through to finish it. Then secure both tails on the inside: thread each one onto the needle and weave it through several stitches of the wrong side before you stuff. Stuffing alone does not hold a tail in place.
3-dc cluster (the thumb) — In one stitch: yarn over, insert hook, pull up a loop, yarn over and pull through two loops — three times, all in the same stitch, keeping the last loop of each on the hook. Yarn over and pull through all four loops. The cluster bulges out on the right side of the arm.
Invisible finish — Used for the hat brim. Cut the yarn and pull it through the last loop. Thread it on the needle, skip the next stitch and pass the needle under both loops of the stitch after it, then back down into the centre of the stitch you came from. Tighten gently until it looks like one more stitch, and secure on the inside.
Back loop only — and the ridges it leaves — Look at the top of any stitch and you will see a "V". The strand nearer you is the front loop; the one behind is the back loop. When a round says BLO, insert the hook under the back loop only for every stitch of that round. The front loops you skipped stay on the outside as a tidy ridge — a line of little loops you can sew to or crochet into later. This pattern uses that trick three times: the bottom edge of the body, the ridge where the beard and arms are sewn, and all five decorative rings of the flower.

Closing a flat piece — The beard and the arms end as tubes that are squashed flat and closed with a row of sc worked through both layers at once. Line the stitches up in pairs first (20 stitches become 10 pairs, 8 become 4), then work one sc through each pair: 10 sc for the beard, 4 sc for the arm. If the fold leaves a corner stitch without a partner, take it in with its neighbour; that is why some patterns give these counts as 9–10 or 3–4.
Instructions
The number on the right of each row is the stitch count once that row is done. Move your marker up every round.
Part 1 · Body (coral)
- Rnd 17 sc in a magic ringThe body is one piece from the flat base to the closed top.7
- Rnd 2inc in every stitch14
- Rnd 3(inc, 1 sc) × 721
- Rnd 4(inc, 2 sc) × 728
- Rnd 5(inc, 3 sc) × 7Trace this circle onto cardboard and cut a disc just a little smaller. Set it aside.35
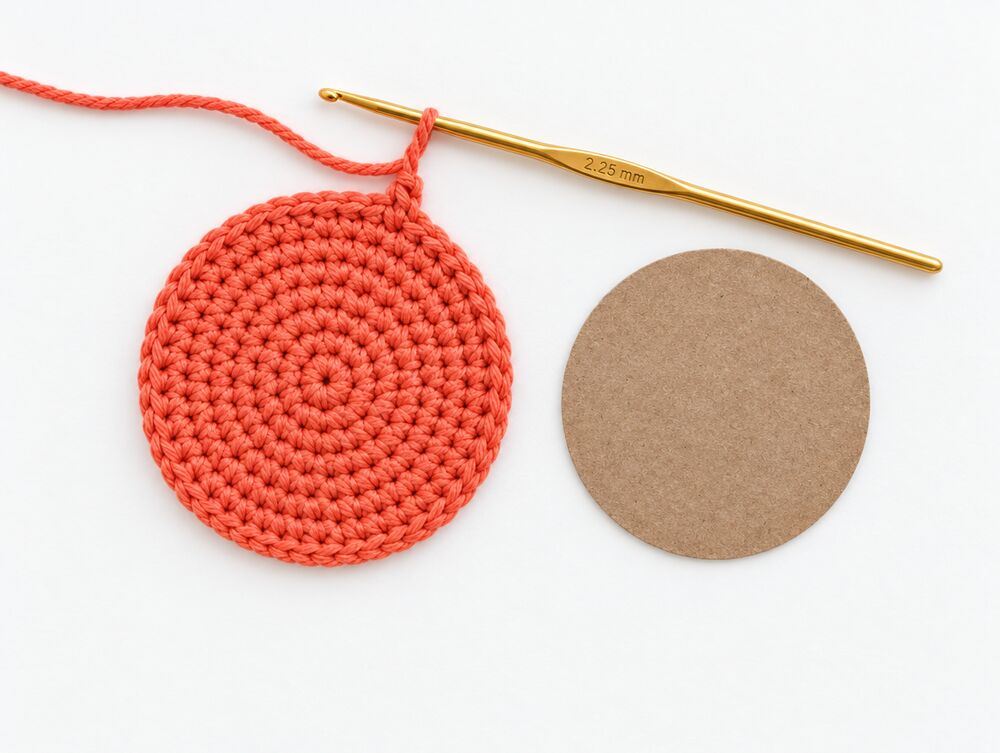
- Rnd 6BLO inc, 34 scBLO turns the flat base into a wall and leaves a neat ridge around the bottom.36
- Rnd 7(inc, 5 sc) × 642
- Rnd 83 sc, (inc, 6 sc) × 5, inc, 3 sc48
- Rnd 9(inc, 7 sc) × 654
- Rnd 10–16sc in every stitch (7 rounds)54
- Rnd 17(dec, 16 sc) × 351
- Rnd 18(dec, 15 sc) × 348
- Rnd 19(dec, 14 sc) × 345
- Rnd 20(dec, 13 sc) × 342
- Rnd 21(dec, 12 sc) × 339
- Rnd 22(dec, 11 sc) × 336
- Rnd 23(dec, 10 sc) × 333
- Rnd 24BLO (dec, 9 sc) × 3Work the 3 decreases under the back loops too. This leaves the 33 front loops of Rnd 23 free: the ridge for the beard and arms. Drop the cardboard disc in now, flat against the base.30
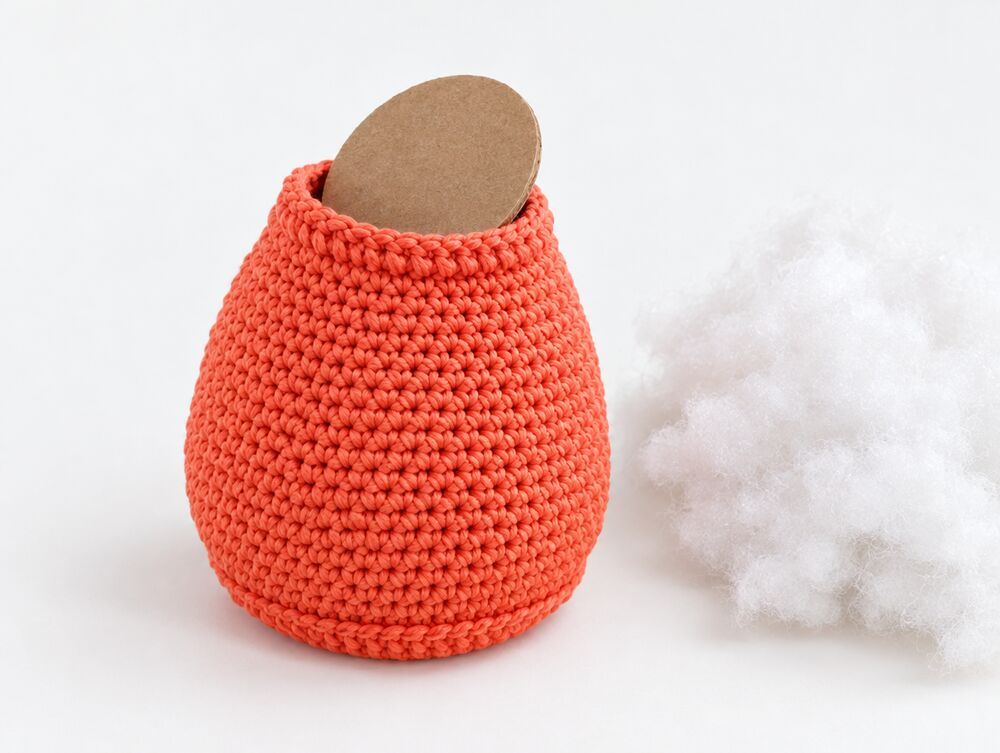
- Rnd 25(dec, 3 sc) × 6Stuff the body firmly and evenly — solid, with no stuffing showing through.24
- Rnd 26(dec, 2 sc) × 618
- Rnd 27(dec, 1 sc) × 6Add a little more stuffing to fill the top.12
- Rnd 28dec × 66
- FinishFasten off, leaving a long tail. Thread it through the front loops of the last 6 stitches, pull tight to close, and hide the tail inside the body.Why the ridge matters: the free loops around Rnd 23 are the anchor line for the beard and both arms. They give you a straight, even guide, so the face always ends up level.
Part 2 · Hat (teal)
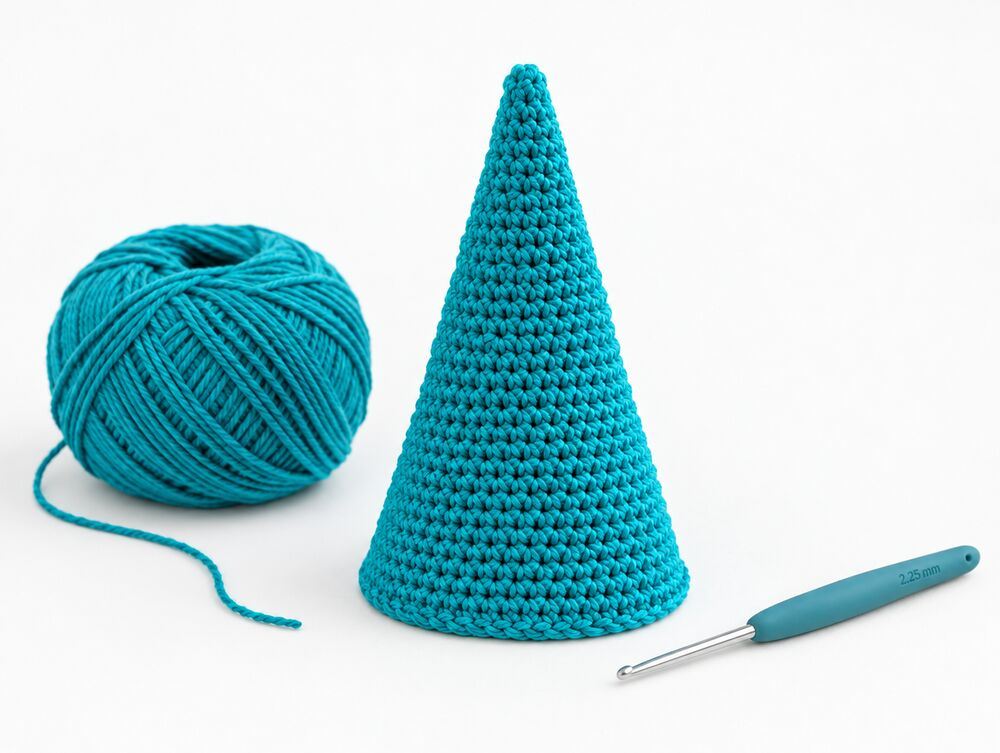
- Rnd 16 sc in a magic ringA tall, simple cone: increase rounds alternate with plain rounds. Keep your tension firm so it holds its point without stuffing.6
- Rnd 2(1 sc, inc) × 39
- Rnd 3sc in every stitch9
- Rnd 4(2 sc, inc) × 312
- Rnd 5sc in every stitch12
- Rnd 6(2 sc, inc) × 416
- Rnd 7sc in every stitch16
- Rnd 8(3 sc, inc) × 420
- Rnd 9sc in every stitch20
- Rnd 10(4 sc, inc) × 424
- Rnd 11sc in every stitch24
- Rnd 12(5 sc, inc) × 428
- Rnd 13sc in every stitch28
- Rnd 14(6 sc, inc) × 432
- Rnd 15sc in every stitch32
- Rnd 16(7 sc, inc) × 436
- Rnd 17sc in every stitch36
- Rnd 18(8 sc, inc) × 440
- Rnd 19sc in every stitch40
- Rnd 20(9 sc, inc) × 444
- Rnd 21sc in every stitch44
- Rnd 22(10 sc, inc) × 448
- Rnd 23sc in every stitch48
- Rnd 24(11 sc, inc) × 452
- Rnd 25sc in every stitch52
- Rnd 26(12 sc, inc) × 456
- Rnd 27sc in every stitch56
- Rnd 28(13 sc, inc) × 460
- Rnd 29sc in every stitch60
- FinishFasten off with the invisible finish (see Special stitches & techniques), so the brim has no visible step. Leave a tail for sewing the hat on.No pompom: this gnome wears his hat plain. If you would like one anyway, a small stuffed ball (6 sc in a MR, inc to 12, then 18, two plain rounds, back down to 6) sewn to the tip looks lovely.
Part 3 · Arms, nose & beard (in the full pattern)
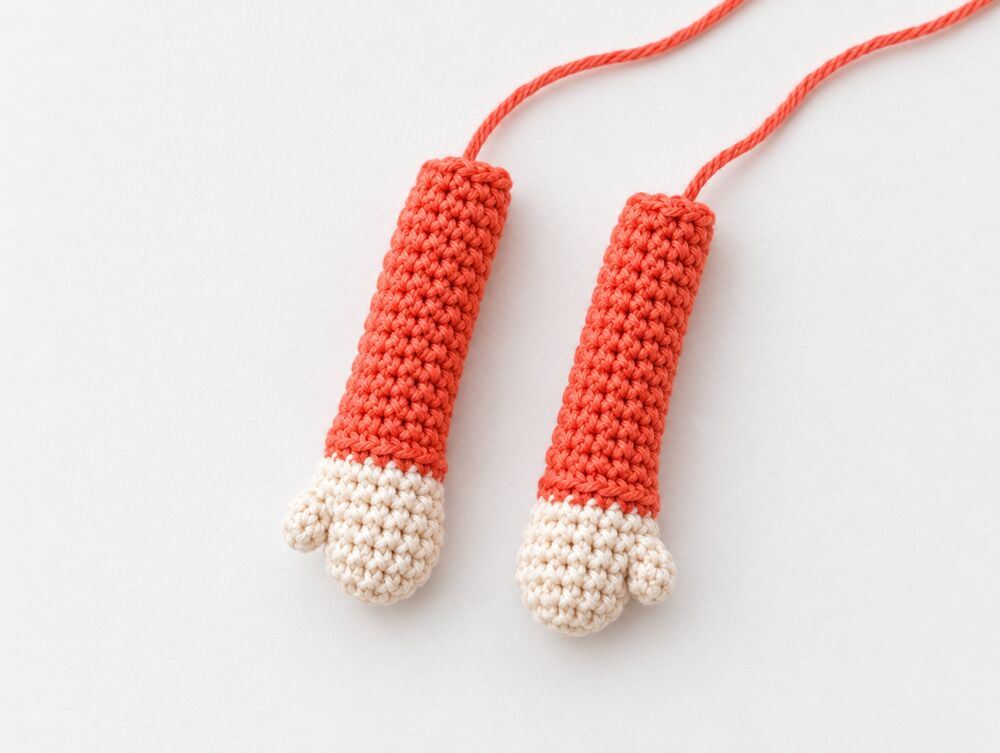
- Step 1Two small arms: a cream hand with a 3-dc cluster thumb, then a coral sleeve started with a BLO round for a neat cuff; stuffed lightly and closed flat.
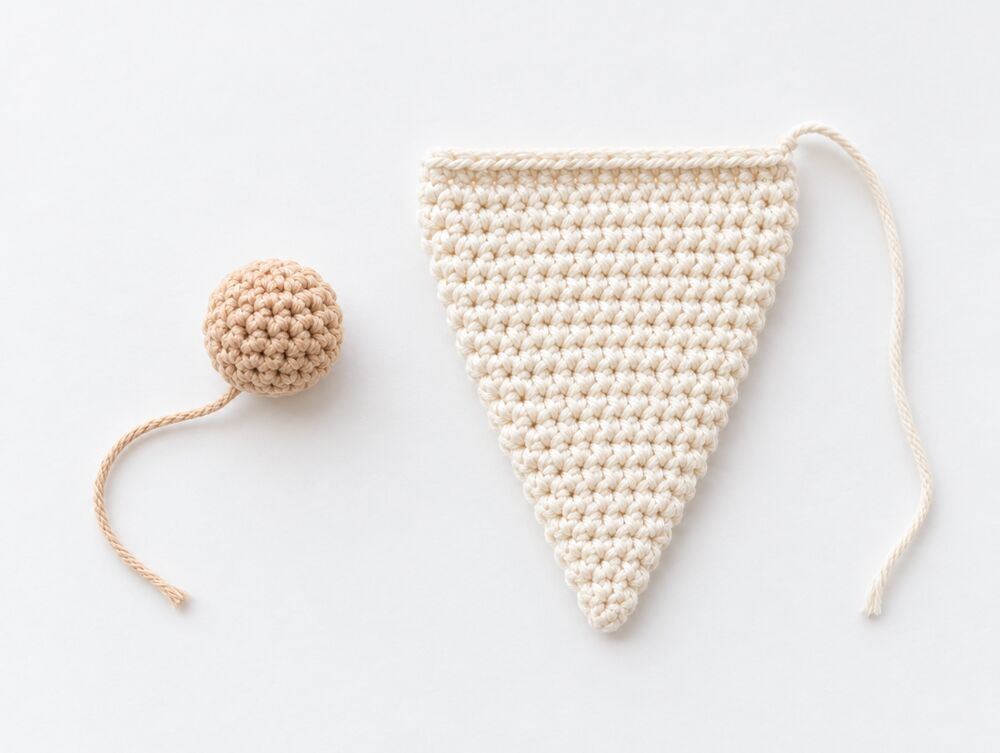
- Step 2A round sand nose, stuffed firmly, and a cream beard worked as a tube, flattened into a point and closed with sc through both layers.
Part 4 · The golden flower (in the full pattern)
- Step 3A small stuffed dome with five rounds worked in back loops only, leaving five rings of free loops.
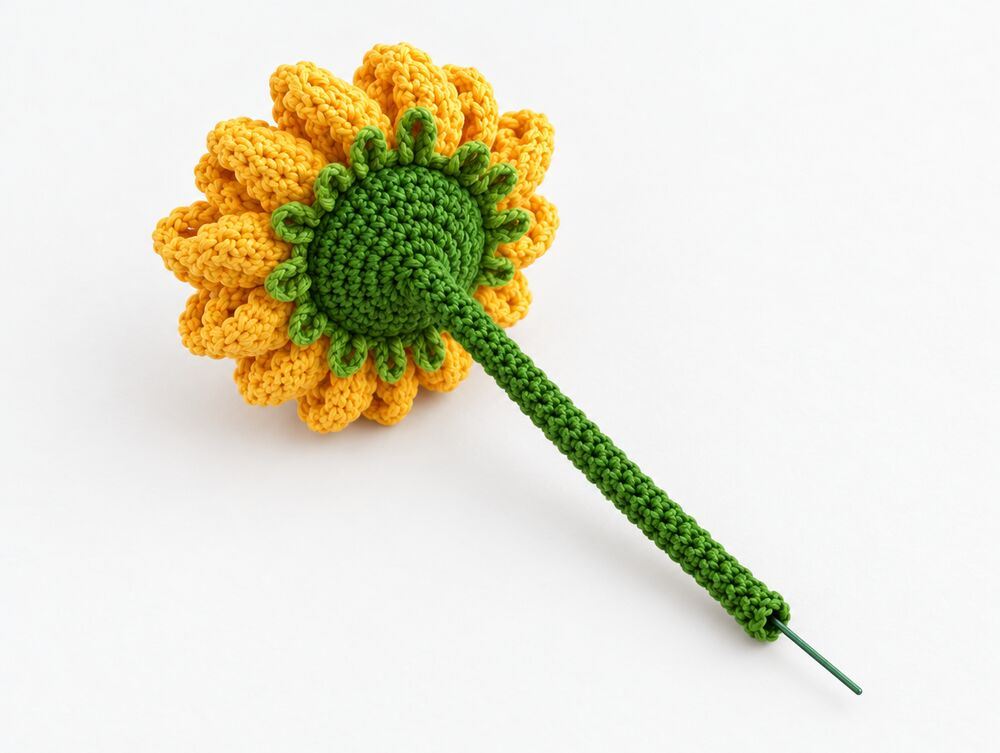
- Step 4Each ring is dressed in turn: coral loops, gold loops, two layers of golden petals edged in sc and hdc, and a green frill underneath.
- Step 5A long green stem with craft wire inside, and a violet bow worked as a single row.
Assembly & finishing
In the full pattern, every piece is pinned before sewing and joined to the ridge of free loops left by Body Rnd 24, so the face always ends up level:
- The beard's closed edge is sewn along the ridge, point down.
- The arms hang on each side of the beard, thumbs forward.
- The nose sits at the top centre of the beard.
- The hat rests on the top third of the nose and is tacked at the back and sides.
- The flower's stem runs up the right side and the bloom nods over the hat, with the violet bow tied below it.

Tips & variations
- The coral ring. In the photos it reads as a warm salmon-coral. Using the same coral as the body is simplest and ties the colours together; a slightly pinker coral also works.
- Stem anchoring. The stem is sewn to the body rather than pushed into it, so the gnome can be lifted by the body.
- Shades. Match the colours to the photos rather than to a shade number — coral is the one to get right.

Care & safety
Spot clean with a damp cloth. For a proper wash, take the flower off its stem wire first, hand wash cool, and reshape while damp. The cardboard base will not survive a soak, so keep the bottom dry.
Safety: keep the wire ends folded and buried inside the stem — this is a decorative piece, not a toy for very young children.
Sharing your gnome: tag NestoraMade when you post. You are welcome to sell the gnomes you make from this pattern — please credit the design.
CrochetNet · https://crochetnet.com/patterns/golden-bloom-gnome
Frequently asked questions
What yarn do I need for the Golden Bloom Gnome?
A sport / fine-weight cotton–acrylic blend (CYC 2). The gnome in the photos uses YarnArt Jeans (55% cotton, 45% acrylic, 50 g / 160 m). One 50 g ball of each of the seven colours is enough for one gnome.
Is this pattern suitable for beginners?
Yes, for a confident beginner: the body and hat in this post are single crochet in continuous rounds, with increases and invisible decreases.
How tall is the finished gnome?
About 19 cm (7.5 in) tall with the hat on, made with a 2.25 mm hook and the yarn listed. The flower on its stem stands taller than he does.
Why does the body have a cardboard base?
A cardboard disc cut from the flat base (after Rnd 5) and dropped in before stuffing keeps the bottom flat, so the gnome stands without wobbling.
Where are the arms, beard and flower?
They are in the complete NestoraMade pattern (12 pages, US terms), together with the full assembly and a photo for every stage. This post shares the body and the hat in full.
Reviews
No reviews yet — be the first to rate this pattern.